Keep Cars, Boats, and RVs Running Right
Owner-operated service with upfront scope and documented fixes based in Orlando, proudly serving Merritt Island, FL, and communities north of the Indian River.
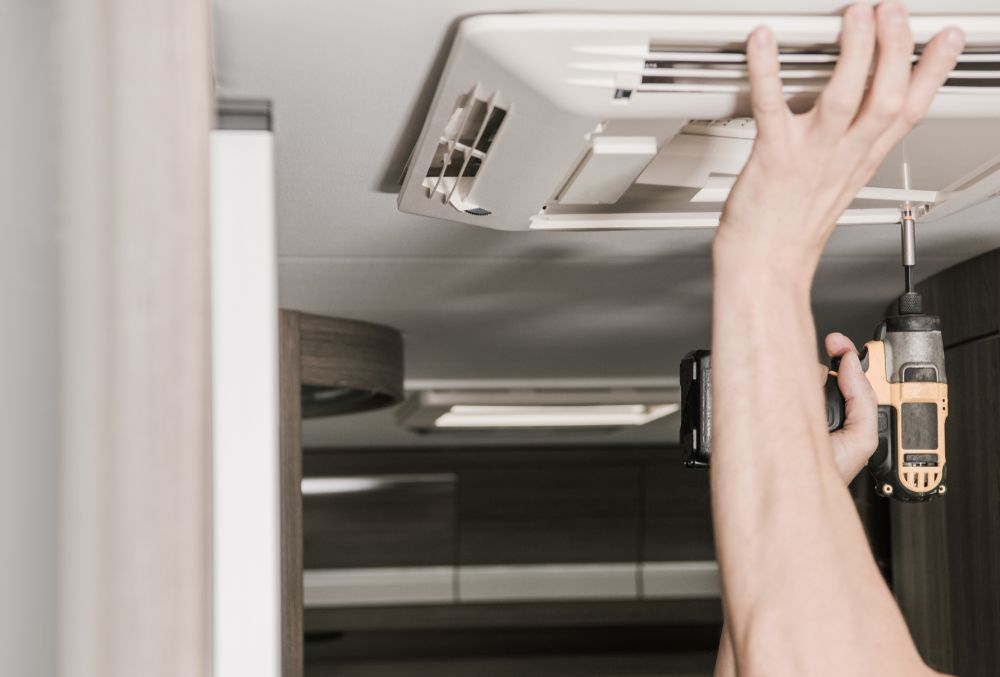
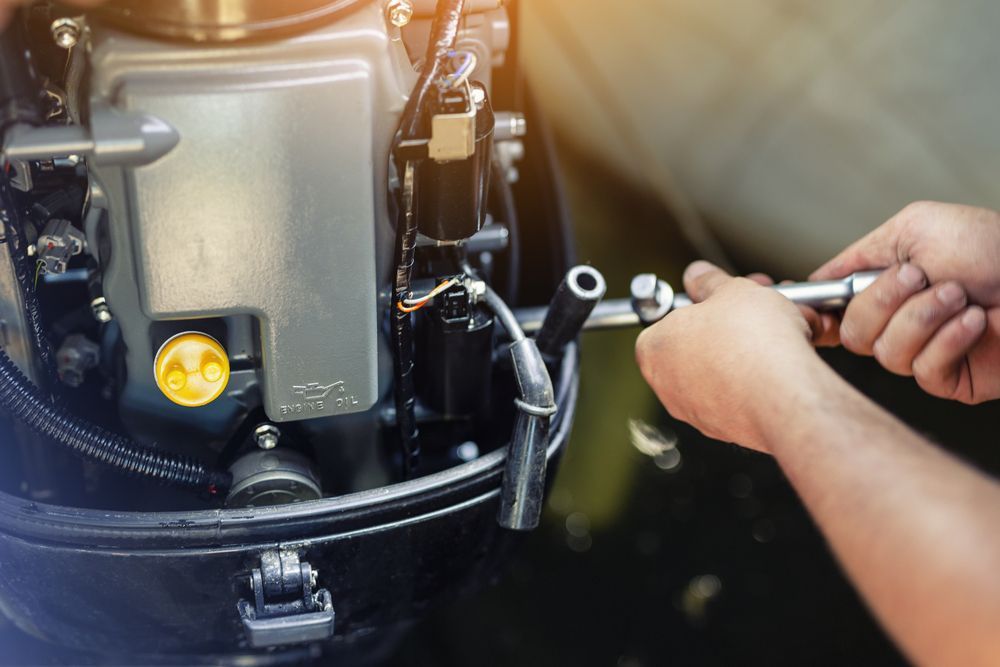
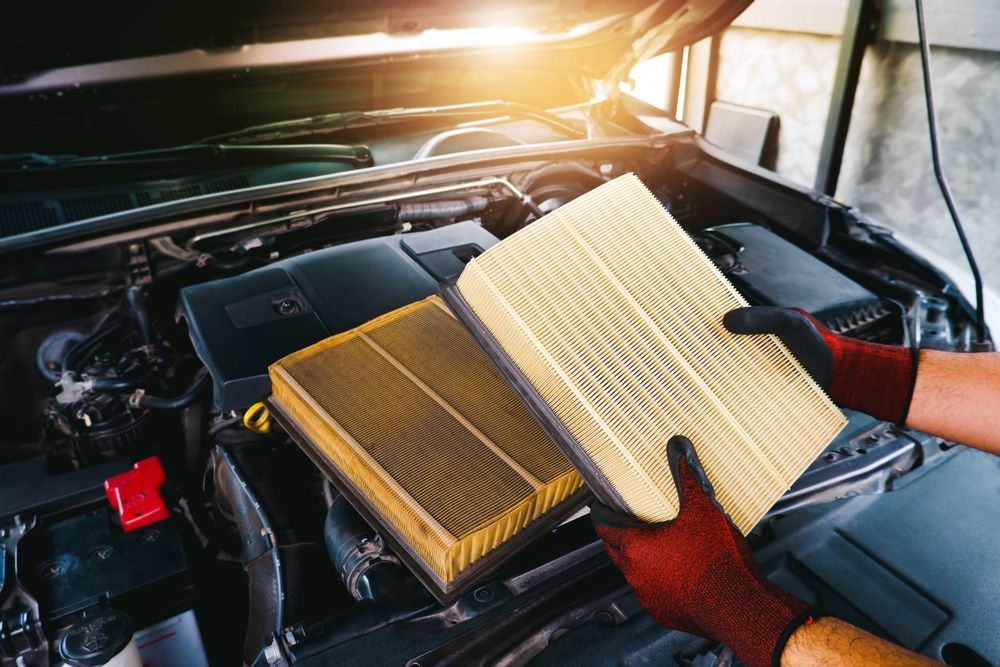
Just N Case Auto, Marine & RV Repair handles everything from daily drivers to weekend watercraft in Orlando, where different vehicles often share the same garage and the same owner. When one breaks down, your plans change fast. Our team understands how cars, boats, RVs, trailers, and trucks each have their own systems, and we work across all of them so you don't need to call multiple shops.
You'll know what we're fixing, why it matters, and what it costs before we start. We walk you through the issue, explain the options, and give you room to decide. Whether you bring your vehicle in or we come to you, the process stays straightforward and you stay in the loop. Orlando's mix of commuters and travelers means flexibility matters, and we build our schedule around yours.
Just N Case is locally and family owned, and the same hands that answer the phone are the ones under the hood or in the hull. Every repair is handled with the same care you'd give your own property, and we treat each project as if it were ours. The goal isn't just to get things running again—it's to make sure they stay that way.
If your car, boat, RV, or trailer needs attention in Orlando, reach out and we'll figure it out together.
Reach Out
Contact Us
We will get back to you as soon as possible.
Please try again later.
How Repairs Happen From Start to Finish
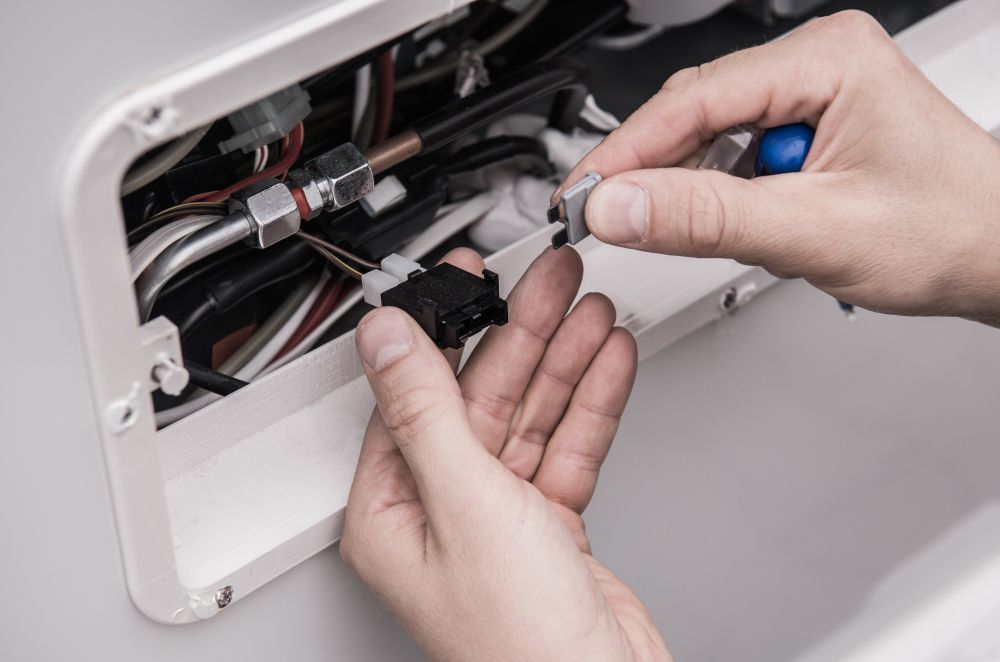
Whether you're dealing with a check engine light, a failing bilge pump, or an RV fridge that won't stay cold, you deserve to know what's happening at every stage. We start with a clear inspection, identify the root cause, and map out what needs to be done before any wrench turns. You get a breakdown of the work, the parts, and the timeline so there's no guessing. If something changes mid-repair, we pause and talk it through.
Our mobile setup means we can handle many repairs on-site, saving you the hassle of towing or trailering. For more involved projects, our shop in Orlando has the space and equipment to dig deeper. Either way, you'll know what to expect and when to expect it.
Here's what makes the process smoother for vehicle owners across the board:
Comprehensive inspections that cover the systems most likely to fail so small issues don't become big ones later
Solar and electrical diagnostics that keep power flowing in RVs and boats, especially for those who spend time off the grid
Audio system troubleshooting and installation so your sound works whether you're on the road or anchored offshore
Fast response times throughout Orlando and surrounding communities, with mobile service that brings the shop to you
If you need a repair handled right the first time in Orlando or Merritt Island, FL, or communities north of the Indian River, give us a call and we’ll get you scheduled.

Chris
Quick service with reasonable price, would totally recommend to friends and family!
Kaitlyn D
I’ve visited twice in the past month, and both experiences have been outstanding. Each time, my car was repaired quickly — first time I dropped it off at night and had it back in less than two hours, which was incredible. He consistently goes above and beyond, providing a detailed breakdown of all costs and services so you always know exactly what’s being done. I also appreciate that he includes a list of potential future repairs or maintenance items, which helps prevent any surprises down the road. Most recently, he even accepted my car to be towed to him on Halloween night and had it back to me before the weekend ended! I would highly recommend him to anyone who owns a car!!
Service Built on Accountability and Honest Work
Just N Case Auto, Marine & RV Repair is owner-operated with over eight years of hands-on experience across multiple vehicle types, and that depth shows in how we approach each job. Orlando's mix of highways, waterways, and campgrounds means the vehicles we see have been through a lot, and we've learned how to fix them without shortcuts. Every repair reflects the kind of work we'd want done on our own gear.
We're licensed and insured, and we stand behind what we do because our name is on it. You won't get passed off to a different technician or left wondering who's responsible. The same person who diagnoses the problem is the one who solves it, and that continuity builds confidence. We treat your property with respect, whether it's a work truck or a family boat, and we leave it better than we found it.
When you're ready for dependable service that shows up and follows through, call Just N Case Auto, Marine & RV Repair in Orlando, proudly serving Merritt Island, FL, and communities north of the Indian River, and let's talk about what your vehicle needs.